
How We Teach Landscape Photography Workshops
This page explains the teaching approach used across all Rocky Mountain Reflections landscape photography workshops.

How we teach
Landscape photography workshops at Rocky Mountain Reflections are built around a simple idea: strong photographs come from thoughtful decisions made in the field.
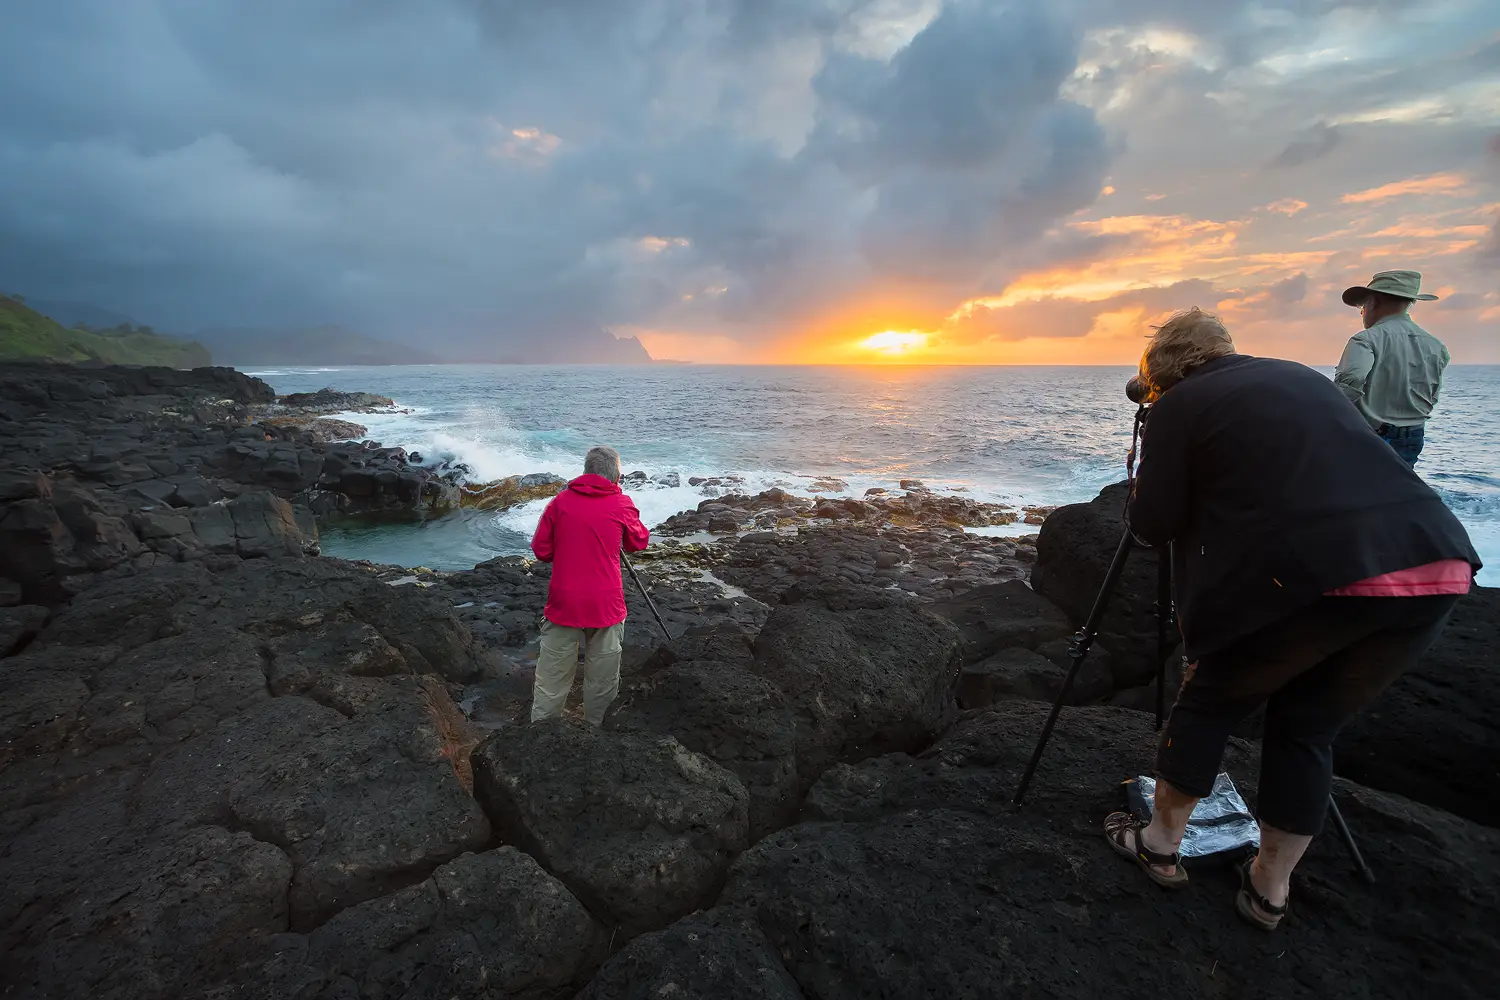
Rather than rushing between locations, we spend time working scenes carefully as light, weather, and conditions evolve. Instruction happens at the tripod, where compositional choices, camera settings, and timing come together to shape the final image.
Participants arrive with different levels of experience and different goals. Some want help with technical fundamentals, while others are refining composition and visual decision-making. The structure of each workshop allows guidance where it is useful while leaving space for photographers to work independently when they find their rhythm.
Strong photographs rarely come from simply standing in a beautiful place. They come from careful decisions about position, framing, timing, and light.
Compositional decisions we work on in the field
While every location presents its own challenges, the instructional focus remains consistent. Workshops emphasize the decisions that shape strong landscape photographs.
In the field we often work through things such as:
- how to evaluate a scene before setting up the tripod
- identifying the strongest subject within a scene
- simplifying complex landscapes into clear compositions
- evaluating balance and separation between subjects within the frame
- how patterns, shapes, lines, and curves guide the eye
- using foreground elements as an entry point into the image
- clarifying relationships between foreground, midground, and background
- controlling frame edges so distractions do not weaken the composition
- choosing focal length and camera position intentionally
- recognizing when changing light strengthens or weakens a scene
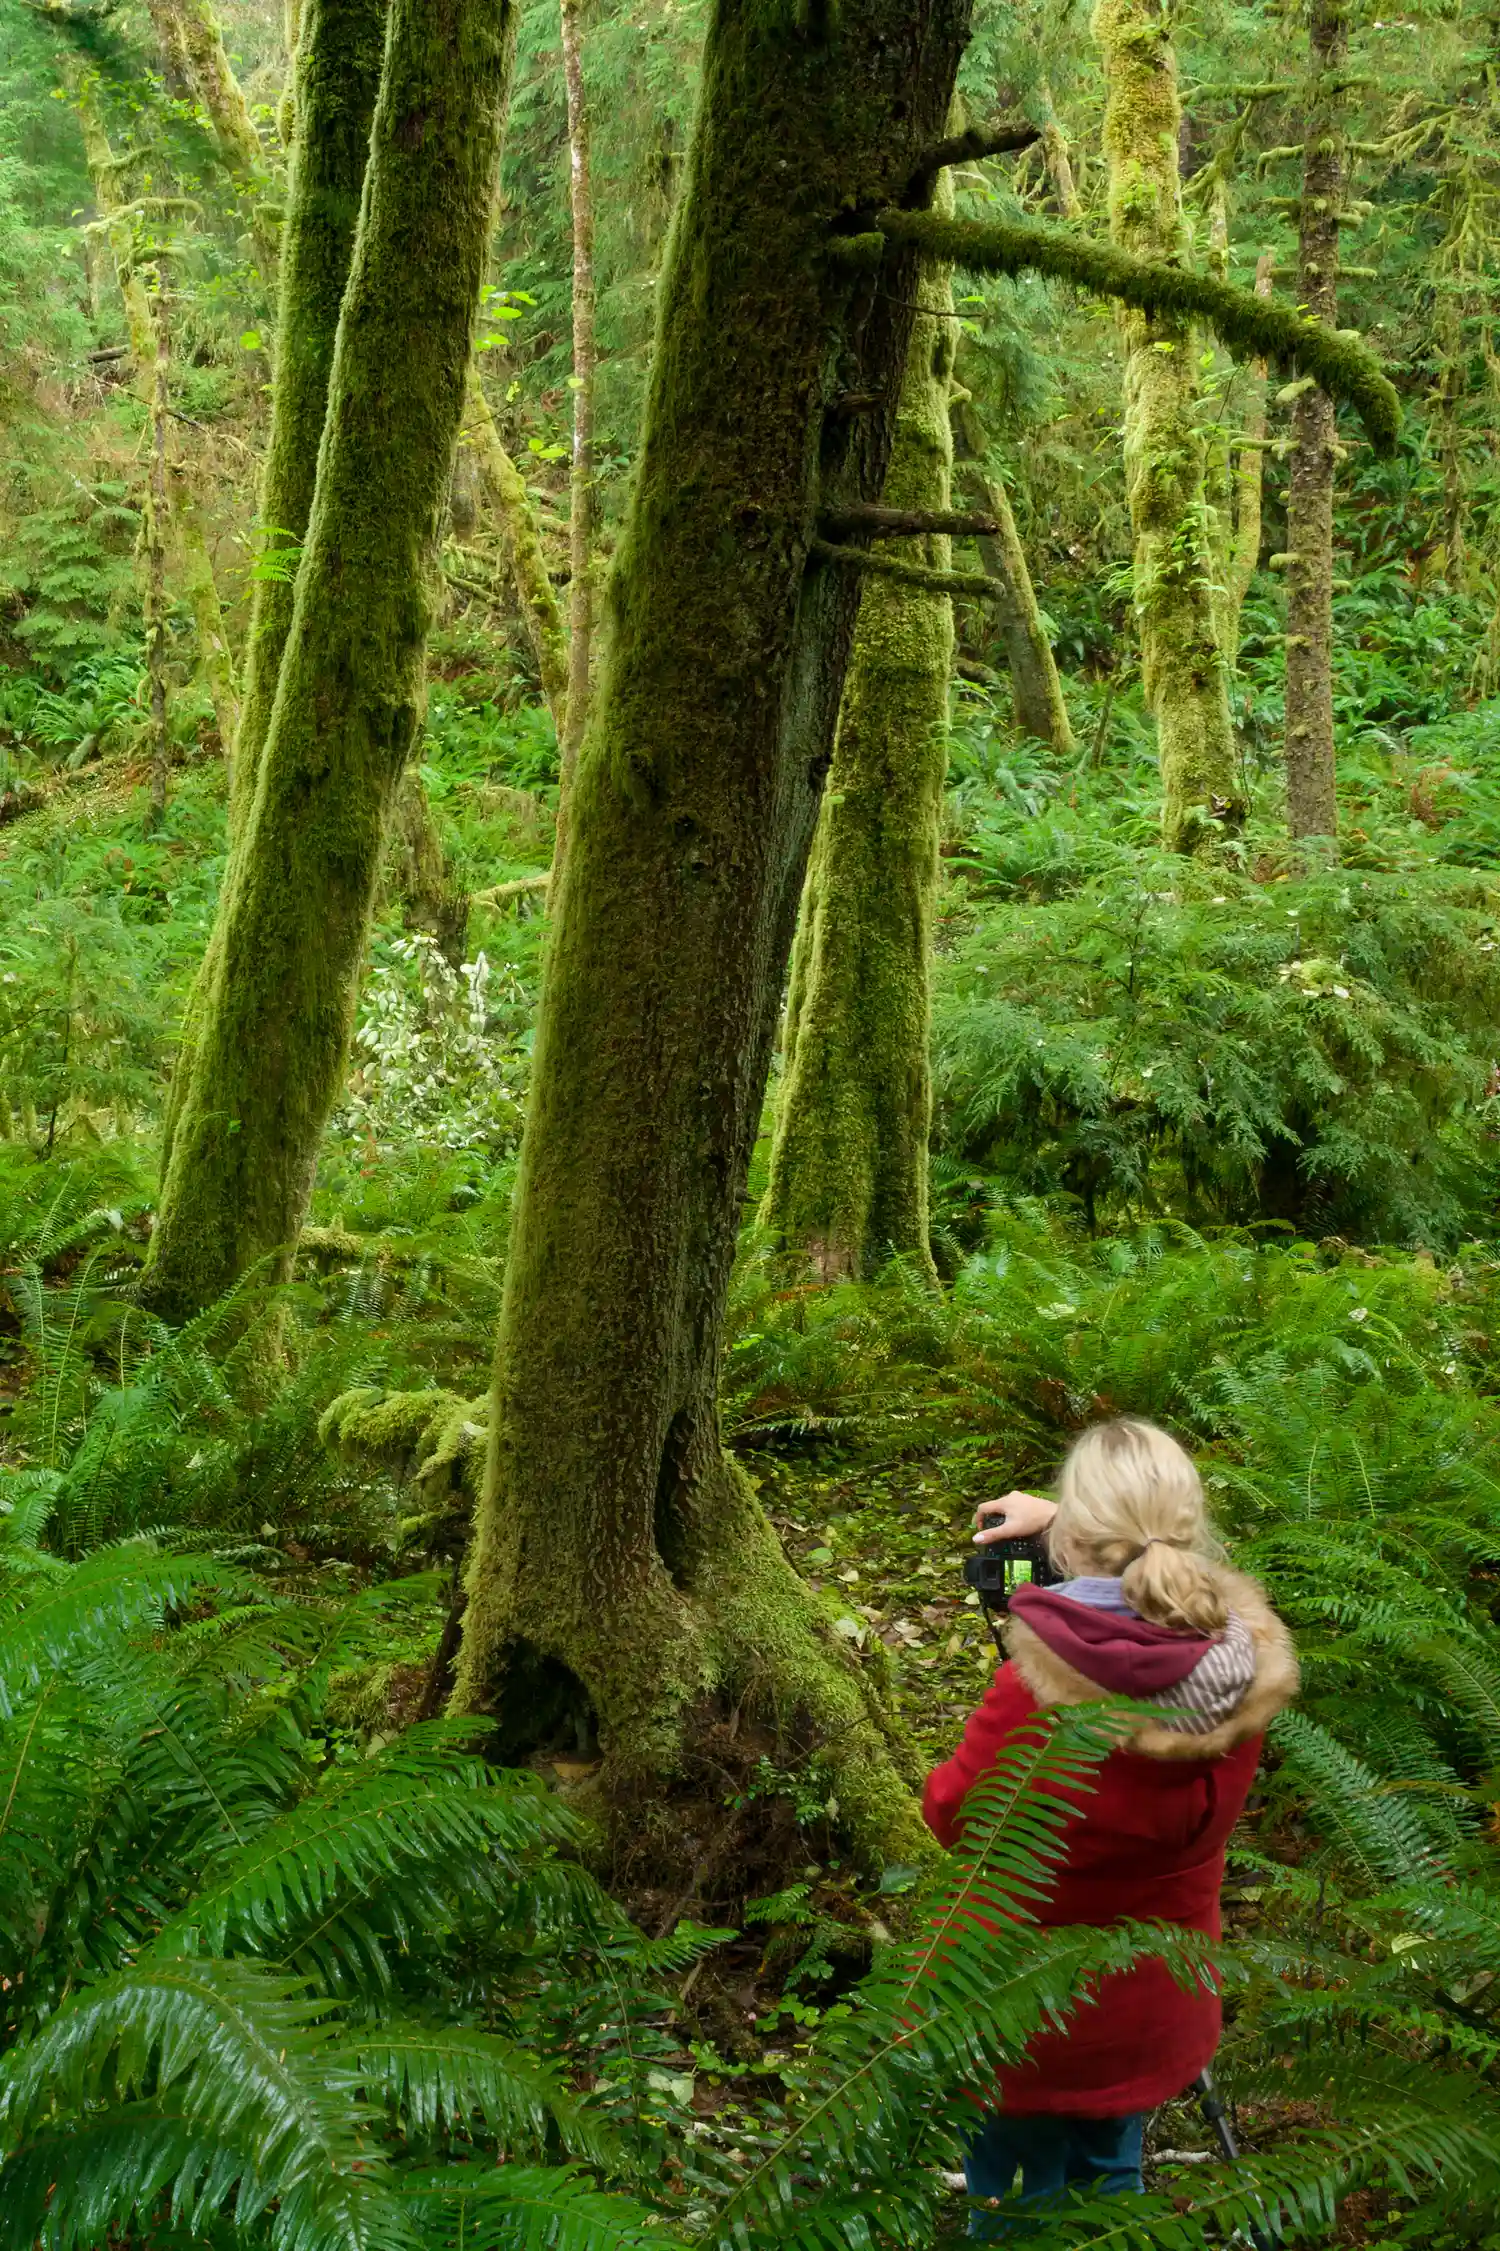
Landscape scenes are often more complex than they first appear. Forests, coastlines, and desert formations can contain overlapping elements that compete for attention. A large part of the work in the field is learning to simplify those scenes by adjusting position, focal length, or timing so that relationships between foreground, midground, and background become clear.
Many photographs improve dramatically through small changes: a step to the side, a slightly longer focal length, or waiting for light that clarifies the structure of the landscape.
Experience levels and instruction
Workshops are designed to support photographers with a range of experience.
Newer photographers receive guidance on camera operation, exposure control, focus techniques, tripod use, and practical field techniques such as exposure bracketing and managing high-contrast scenes. For example, many photographers discover their exposure brackets are not capturing enough highlight detail. Small adjustments to bracketing strategy in the field often resolve this immediately. More experienced photographers often focus on refining composition, simplifying complex scenes, and making more deliberate decisions as conditions change.
Instruction happens organically in the field, allowing each participant to work at an appropriate level. Informal image review and discussion are often part of the process, helping photographers see what is working in their compositions and where small adjustments can strengthen the image.
Typical workshop rhythm
Most workshops follow the natural rhythm of landscape photography:
- Sunrise field sessions
- Midday rest, travel, or optional image review and post-processing
- Afternoon scouting or repositioning as conditions change
- Sunset field sessions
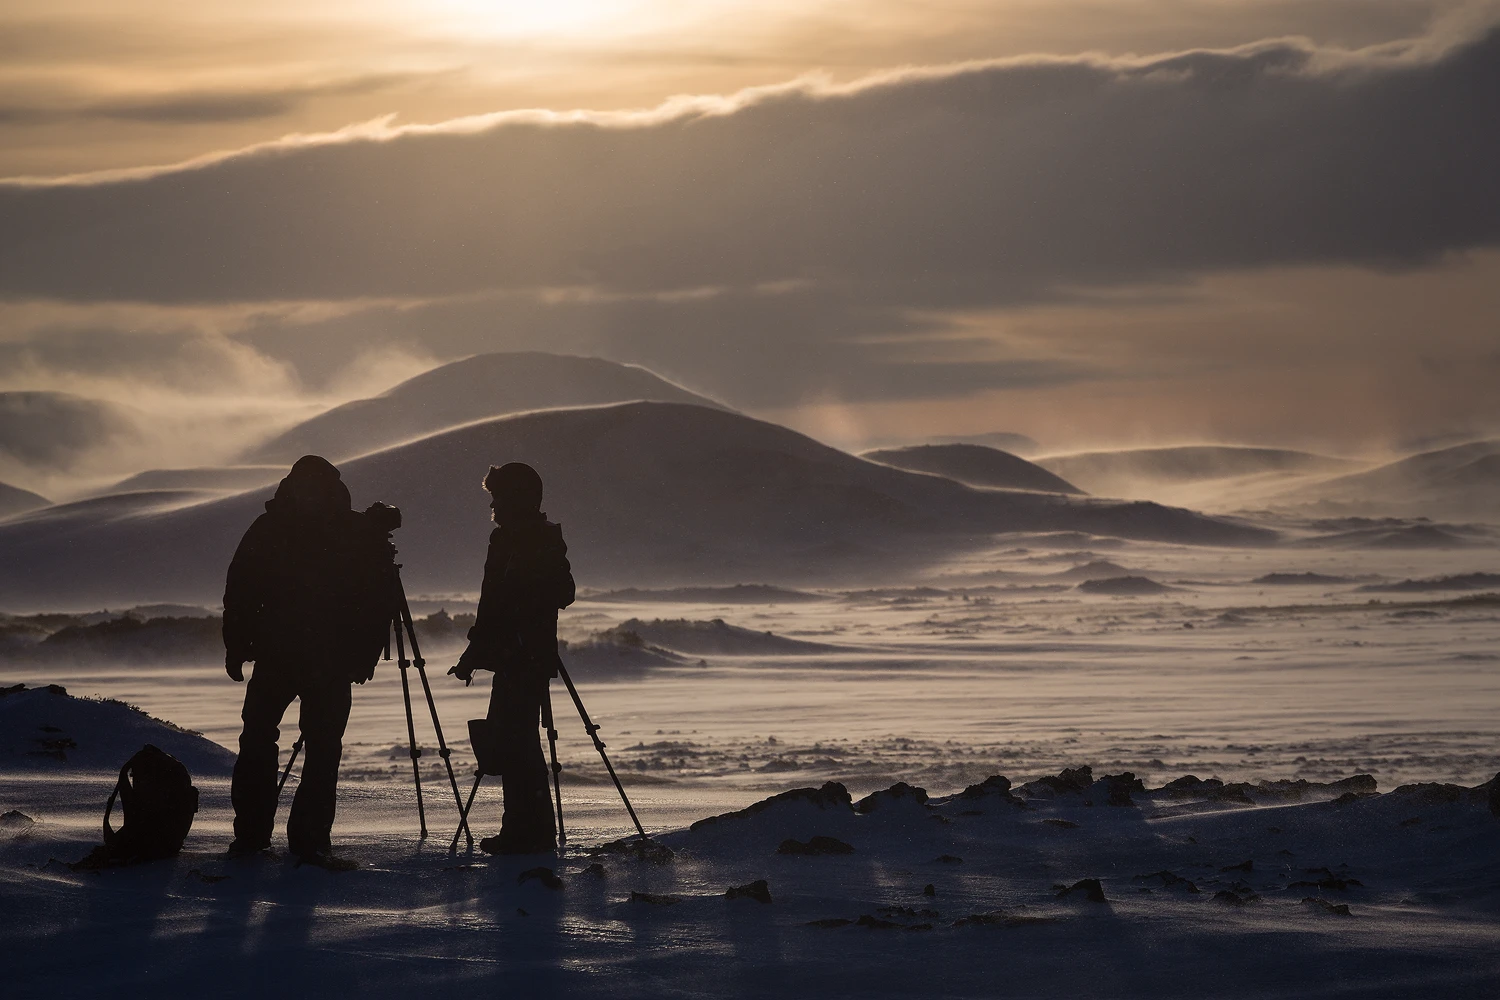
Exact timing varies by season and location, but the emphasis remains the same: working carefully in the field when light and time of day offer the strongest opportunities.
The goal is not simply to improve a few photographs during the workshop, but to strengthen the way you approach landscape photography wherever you work next.
Workshop Preparation & Logistics
Lodging
Participants book their own lodging directly with the provider. Once you're registered, if not already on the workshop page, we'll share the recommended base location for that workshop so you can reserve a room.
Weather and flexibility
Weather affects access, light, and sometimes the daily plan. We build flexibility into each workshop, but conditions can occasionally limit specific locations.
If your schedule allows, staying a day or two afterward can give you time to revisit locations or continue exploring the area.
Food and water
We'll have snacks available during the day. Please bring a reusable water bottle and plan to keep it filled—especially in dry climates or at elevation.
Physical considerations
You don't need to be in peak shape, but you should be comfortable walking on uneven ground, taking short hikes, and spending extended periods outdoors. See each workshop's details section for specific effort levels.
At higher elevations, hydration becomes especially important. Dehydration can lead to fatigue and headaches and can develop quickly if you're not drinking consistently throughout the day.

Photo equipment recommendations
Bring your camera manual (or have it downloaded), plus everything you need to shoot comfortably for long stretches in the field.
- Lenses
- Bring your full range if possible. Wide-to-tele gives you options as conditions change.
- Polarizing filter
- Highly recommended for most workshops to manage reflections and deepen skies when appropriate.
- ND filters for water
- For long exposures, a 6-stop (1.8) or stronger screw-on ND filter works well.
- ND filters for clouds
- For cloud movement on bright days, consider a 9- or 10-stop ND filter.
- Memory
- Bring plenty. If you download and reformat during the workshop, 64–128GB cards are convenient. If you don't, bring roughly 32–64GB per day.
- Tripod
- A sturdy outdoor tripod is essential. It should go from standing height down to very low without relying on a raised center column, and allow flexible leg angles for uneven terrain.
- Cable Release / Timer
- Bring a cable release, or be confident with your camera's timer delay so you can trigger exposures without vibration.
- Level
- If your camera lacks a built-in level, a simple 2-axis hot-shoe bubble level works well.
- AEB / bracketing
- Andy often combines exposures in post. If you'd like to learn the full workflow, bring a laptop with Photoshop installed.
Additional items to consider
- GPS (or offline maps)
- Flashlight or headlamp
- Tripod
- Spare batteries
- Camera manual (or downloaded PDF)
- Plenty of memory cards
- Filters (polarizer, ND if desired)
- Extra shoes and socks
- Rain gear
- Hiking boots
- Reusable water bottle
- Warm layers
- Umbrella (useful for blocking sun, wind, and sometimes rain)
Pre-workshop preparation
To get more out of the field sessions, we recommend reviewing the materials below ahead of time:
- 2 videos (overview and techniques you may use in the workshop)
- 7 lessons (skills and concepts to refresh before you arrive)
- 7 workshop handouts (reference sheets for topics we may cover)
Workshops where this approach is applied
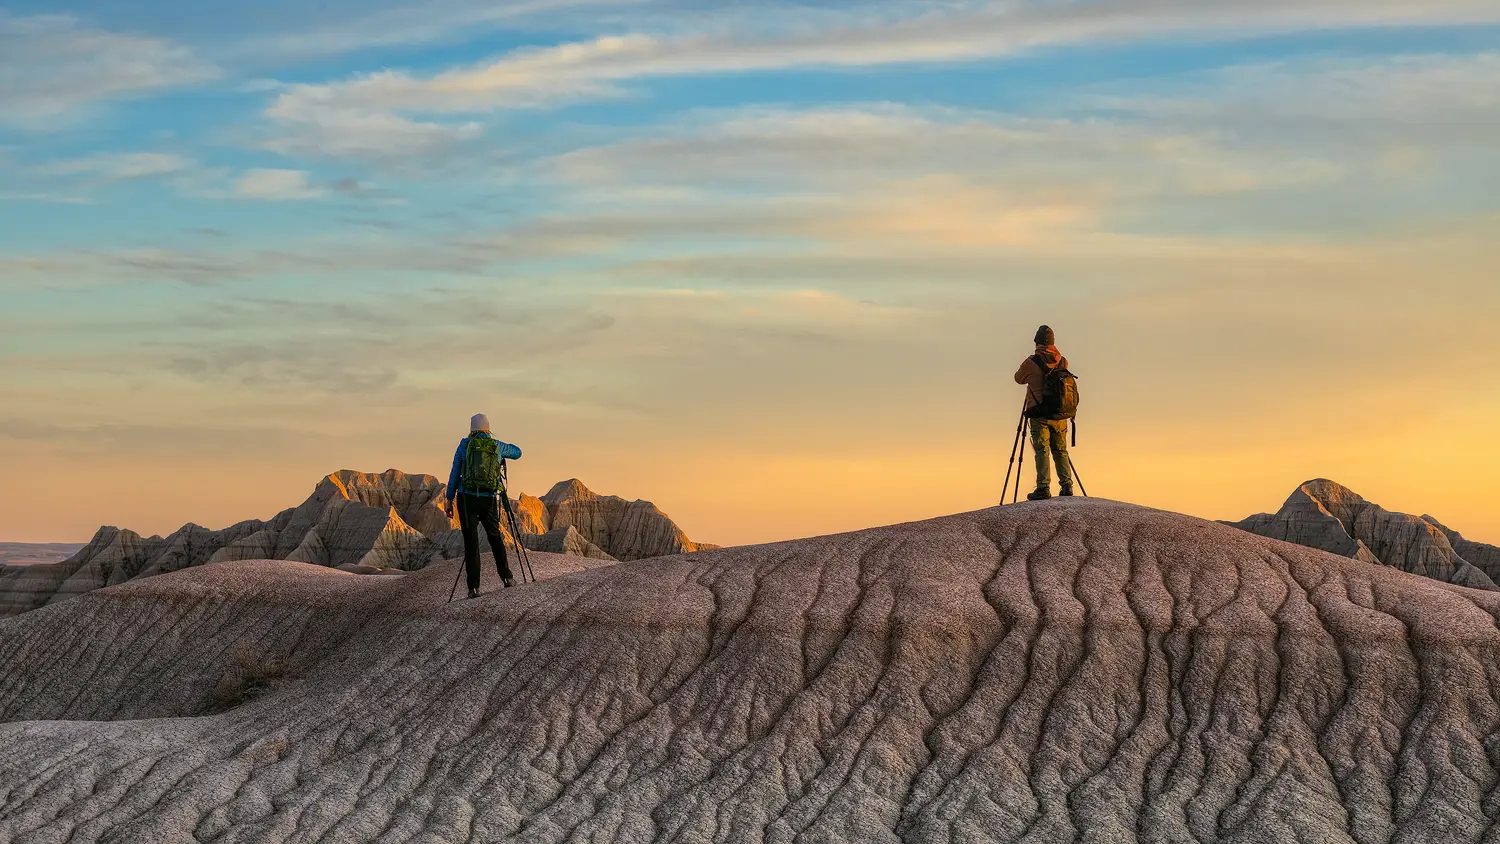
This field-based teaching approach is used across all Rocky Mountain Reflections workshops. Each location presents different photographic challenges, from layered mountain landscapes to coastal environments and desert terrain.
Permits and authorizations
Rocky Mountain Reflections Photography, Inc. is an Equal Opportunity Service Provider.
Rocky Mountain Reflections Photography, Inc. is authorized by the National Park Service, U.S. Department of the Interior, to conduct services in Glacier National Park, Grand Teton National Park, Badlands National Park, Olympic National Park, Arches & Canyonlands National Parks, Death Valley & Joshua Tree National Parks, Great Smoky Mountains National Park, Big Bend National Park, and Acadia National Park.
Rocky Mountain Reflections Photography, Inc. is a permittee of the Uncompahgre National Forest.